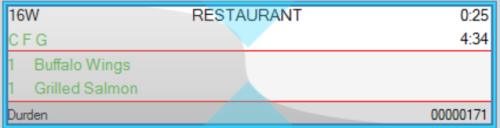
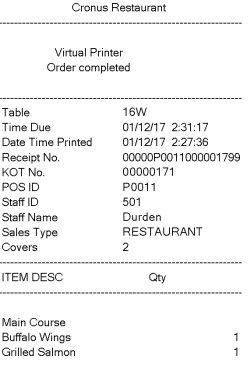
You can set up expeditor bump printing if you want the KOTs to be printed when they are bumped from the Expeditor display station in KDS. The expeditor bump printing must be set up using External Printer since the KDS is not part of the POS system. It is possible to use both OPOS and Windows printer drivers for the External Printer definition.
Note the following pitfalls
- If you are using networked OPOS printers, we do not recommend to using them with the LS Printing Station. The station is only designed for USB/Serial connected printers and will malfunction if errors occur in the printing.
Use the LS Hardware Station instead. - It is not possible to use OPOS drivers directly with the External Printer setting. The Hardware Station must be used.
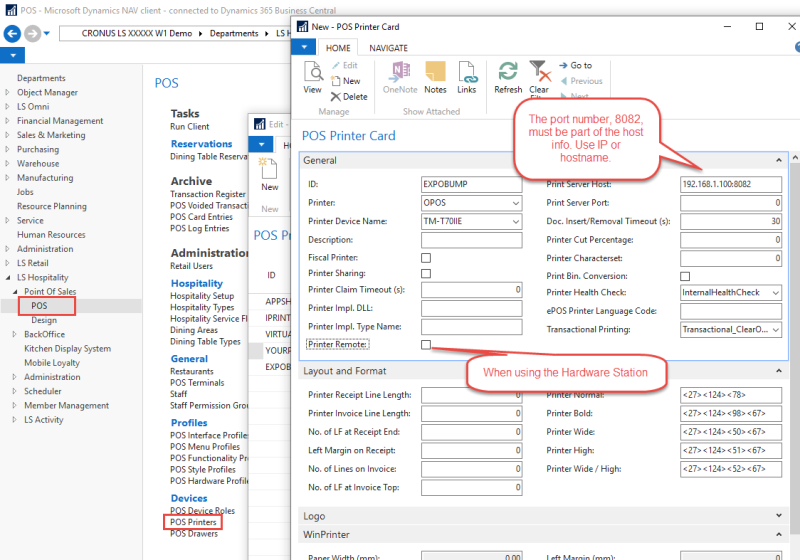
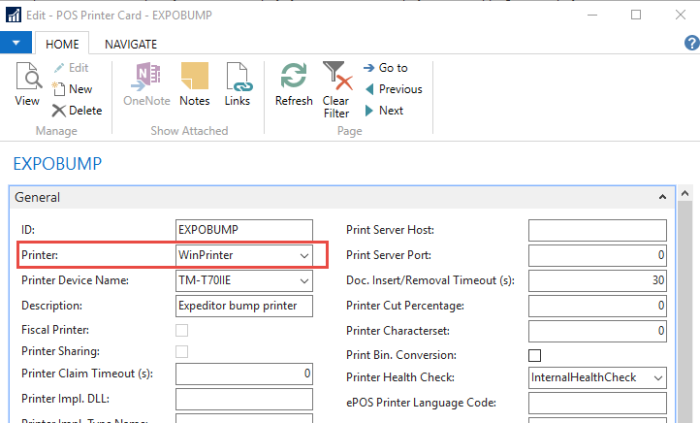
The reason is that the OPOS drivers are 32 bit, but the Dynamics Business Central service is 64 bit. - When using a Windows driver make sure to use the POS Printer type WinPrinter.
To set up bump-to-printer
- Create a POS printer (enter POS Printers in the search field in the top righ-hand corner). (Example: POSPRINTER)
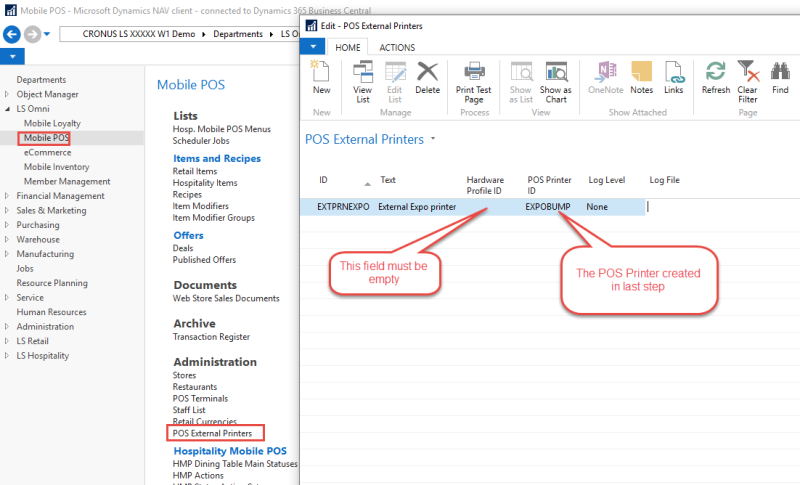
- Create an External Printer (enter External POS Printers in the search field). (Example: EXPOPRINT)
Fill in the POS Printer ID field with the POS printer you created in step 1. - Go to the KDS Display Station List (enter Display Stations in the search field).
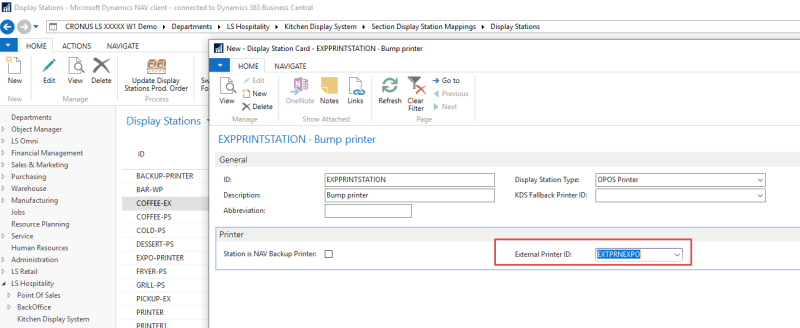
- Create a new station that functions as the printing station for the expeditor. It can be a Windows Printer or an OPOS Printer. (Example: EXPOBUMP)
Fill out the External Printer ID with the external printer you created (Example: EXPOPRINT). - Select the Expeditor display station. The fields Expeditor Bump Station ID and Expeditor Bump Terminal No. become available.
Set the new printer station in the Expeditor Bump Station IDfield (Example: EXPOBUMP).
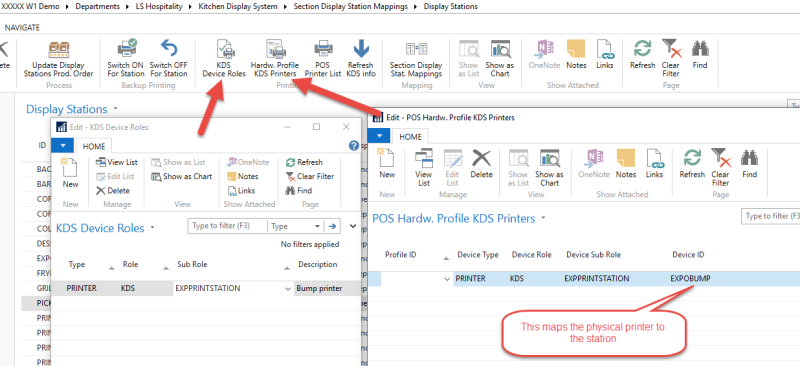
Set a POS terminal ID in the Expeditor Bump Terminal No. field (the program uses this to find the correct hardware and functionality profiles when printing). - Map/connect the new printer station to the physical printer.
When the finished KOT is bumped from the Expeditor display station, the KDS Web Service activates the printing of the KOT on the expeditor bump printer.
To set up a networked OPOS printer using the LS Hardware Station
-
Create the POS Printer and set it to use the Hardware Station. See How to: Set Up LS Hardware Station for more information.
-
Create the external printer and assign the POS printer to it.
-
Create the printing station, click New in the Display Stations list. Assign the external printer to the station.
-
Connect the Device Role to the KDS Hardware profile.
To set up a Windows printer
Most of the setup is the same as in the example above. The only exception is how the POS printer and Display stations are defined.
-
Create the POS Printer as a WinPrinter.
- Create the external printer and assign the POS printer to it. Same as in the previous example.
-
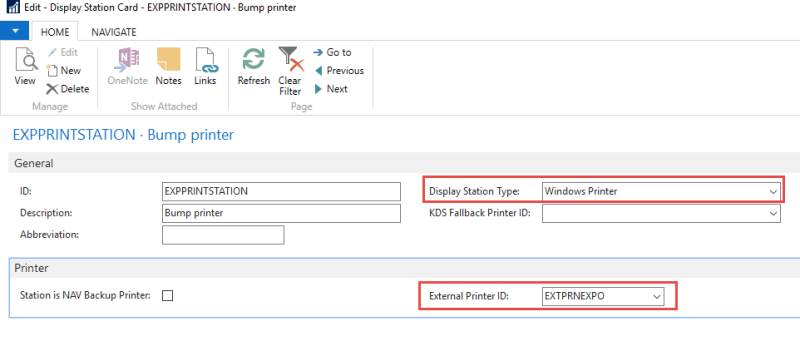
Create the printing station in the Display Stations list, and assign the external printer to it. The only difference from the previous example is the value in the Display Station Type field.
- Connect the Device Role to the KDS Hardware profile. Same as in the previous example.